A pre drywall inspection can save a luxury homebuyer from a $25,000 repair fight after the walls are sealed. At this stage, the framing, wiring, plumbing, insulation gaps, and structural connections are visible. Once gypsum board covers them, the same defects become a demolition project. “New construction” is not a defect-prevention system. It is simply a house with fewer years on the clock.
I inspect homes for the dollars hidden behind builder schedules and cheerful phrases such as “we will take care of it.” My question is more direct: what will this mistake cost after paint, cabinets, tile, and flooring make access expensive? A loose structural connector might cost $150 to correct today and $3,500 after finished walls. A missing shower valve support can become a $1,200 tile repair before anyone turns on the water.
What a pre drywall inspection actually examines
A pre drywall inspection is not a cosmetic walkthrough. It is a controlled review of the building before interior wall surfaces conceal the work. The inspector should examine framing dimensions, load paths, fasteners, plumbing penetrations, electrical routing, ductwork, insulation, window installation, and moisture management.
Start with the structural bones. Look for cracked or split studs, excessive notching, doubled members that do not align, missing joist hangers, and beams bearing where the plans do not show support. A 2-by-4 cut too deeply for a drain line is not “just how plumbing works.” It can weaken the member and require reinforcement. Reinforcing a wall while it is open may run $300 to $1,500. Finding the same issue after cabinets are installed can push the bill beyond $4,000.
Check the framing against the plan, not against the builder’s confidence. Door openings should match the specified size. Stair geometry needs consistent rises and runs. Shower niches, recessed lighting, appliance openings, and oversized windows all require coordination. A two-inch mistake at a refrigerator opening can produce a $2,000 cabinet modification and a delayed appliance installation.
Plumbing deserves a slow look. Confirm that supply lines are supported, protected from fasteners, and routed away from sharp framing edges. Examine drain slopes, cleanout access, tub and shower supports, and exterior hose bib locations. Water lines touching framing can create noise every time someone opens a faucet. A missing nail plate can lead to a punctured pipe and a $1,000-plus emergency repair after drywall.

Electrical and mechanical defects worth documenting
Electrical work is easier to evaluate before the walls close because the entire route is visible. Check that cables are protected where they pass through framing, stapled appropriately, and separated from plumbing where required. Look for crowded junction boxes, abandoned wires, unsupported low-voltage cable, and receptacle locations that do not match the room plan.
Photograph every panel and major cable route with a tape measure in the frame. Those images become useful when you need to locate a wire years later. They also expose expensive coordination errors. A misplaced outlet behind a built-in may cost $250 before drywall and $900 after millwork is complete. A panel that cannot accommodate the planned electric vehicle charger, pool equipment, or future generator is a $2,000 to $8,000 planning failure, not a minor inconvenience.
Mechanical systems need the same attention. Ducts should be supported without crushing, sealed at joints, and routed so they do not block recessed lights or attic access. Inspect refrigerant lines, condensate drains, bath exhaust ducts, and combustion-air provisions. In a large home, an inaccessible condensate drain can turn a ceiling leak into a $5,000 remediation event. A disconnected bath fan duct can send humid air into the attic, where mold and damaged sheathing wait patiently.
Ask for a pressure test or inspection record for plumbing and gas systems where applicable. Do not accept a verbal statement that testing was completed. A simple date-stamped report is stronger than “the plumber already checked it.” This is not distrust; it is what documentation looks like when the house costs seven figures.
How to document findings so they get fixed
A useful pre drywall inspection report ties every observation to a location, photo, drawing reference, severity, and probable cost. “Fix wiring in bedroom” is nearly useless. “North bedroom, west wall, cable passes through stud within planned screw zone; install approved protection before board” gives the superintendent something actionable.
Take wide, medium, and close photographs. The wide image identifies the room. The medium image shows the wall or ceiling area. The close image captures the defect. Place a ruler, coin, or laser measurement in the frame when scale matters. Photograph room corners and floor-to-ceiling dimensions so hidden conditions can later be reconstructed.
Use a marked-up floor plan to identify every penetration and utility route. Before drywall, I want an owner to know where the main water line, electrical home runs, shower valves, cleanouts, blocking, and data cables are located. Save the photos in a cloud folder with room names and dates. A phone camera roll called “new house stuff” is not a record; it is a future scavenger hunt.
Separate findings into three categories. Immediate corrections involve safety, structural capacity, water intrusion, or code-related concerns. Coordination corrections include outlets, lighting, cabinetry, plumbing fixtures, and access panels. Documentation items record concealed work that is acceptable but important to remember. This prevents a cosmetic preference from competing with a missing beam connector.
What repairs cost before and after drywall
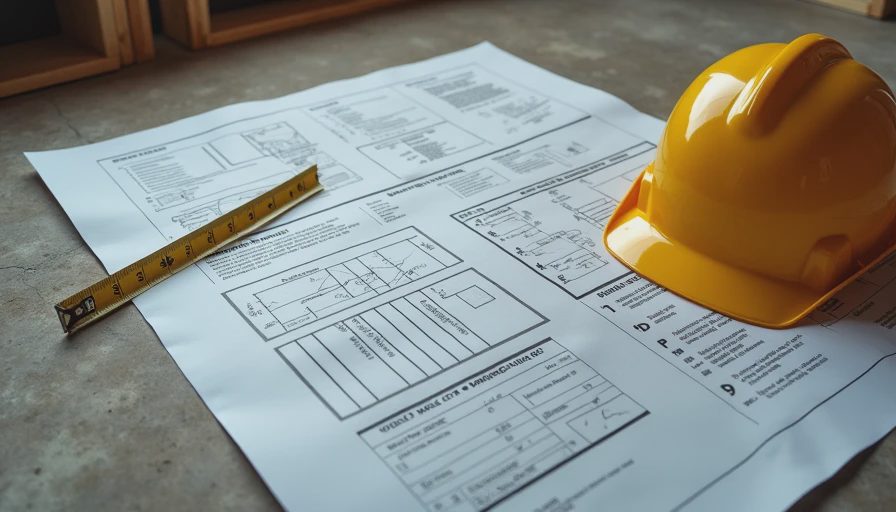
The timing difference is where the money lives. Correcting a blocked attic access opening before insulation and drywall may cost $200 to $600. Rebuilding a finished ceiling around it can cost $1,500 to $4,000, especially when texture, paint, trim, and lighting are involved.
A missing shower backing board or valve support might be a $100 to $400 framing correction during the open-wall stage. After tile, waterproofing, and fixtures, access can require $1,500 to $5,000. Replacing a poorly placed outlet may cost less than $300 early and $700 to $1,200 after cabinets or stone backsplashes are installed.
Structural findings have wider ranges. Adding blocking may cost $300 to $1,000. Correcting a misaligned post or beam can reach $5,000 to $20,000 if finishes and temporary support are involved. Water-management failures deserve priority because concealed leaks damage multiple trades at once. Improper flashing or an unsealed penetration may start as a $500 correction and become a $10,000-plus interior restoration.
These are planning ranges, not bids. Local labor, access, engineering requirements, and finish quality change the final number. The important comparison is not whether a correction costs $400 or $700 today. It is whether the same issue becomes a $7,000 demolition line item after closing.
Who should perform the inspection and when
The best time for a pre drywall inspection is after rough plumbing, electrical, and mechanical work is complete, but before insulation and wallboard cover the framing. Schedule it early enough that corrections do not disrupt the drywall crew. A rushed inspection the morning before board delivery is better than no inspection, but it gives the builder little room to respond.
Use someone who can read plans, understand structural load paths, and price repair consequences. A standard home inspector may identify visible concerns, but complex new construction benefits from an inspector with field engineering or construction-cost experience. Ask for a sample report, proof of relevant licensing where required, and a clear explanation of what the service includes.
The inspection should not replace municipal inspections, engineering review, or the builder’s quality-control process. It adds another set of eyes focused on the buyer’s exposure. Builders manage production. Your inspector should manage unanswered questions.
The bottom line before the walls close
A pre drywall inspection is one of the cheapest opportunities to reduce a future repair reserve. For a high-end home, spending several hundred dollars on a detailed review can expose defects that otherwise consume thousands in demolition, finish replacement, delay, and frustration.
Bring the plans. Bring a flashlight, tape measure, and patience. Photograph routes before they vanish, demand written answers, and track each correction to completion. Do not ask whether there is anything wrong with the house. Ask how many dollars you have to spend to fix what is wrong, when the walls are still open and the answer is mercifully small.



No letters yet — pray write the first.