A $1 million house can hide $30,000 in corrections behind fresh paint, spotless flooring, and appliances that still have their protective film. That is why understanding what does a home inspector look for matters before you sign closing documents. “New” describes the age of the structure. It does not guarantee proper drainage, level floors, sealed ductwork, or an installation crew that owned a tape measure.
A standard inspection is valuable, but it is not a forensic construction audit. The inspector is looking for observable defects, safety concerns, and systems that are not operating correctly. I look at the same evidence and then ask the less comfortable question: what will this finding cost when the warranty period ends?
What Does a Home Inspector Look For Outside?
The first expensive clues are often outside the house. Inspectors examine grading, downspouts, foundation exposure, retaining walls, siding, trim, roof coverings, flashing, windows, decks, patios, and visible drainage paths. Water should move away from the foundation, not collect beside it like a loyal dog waiting for dinner.
Poor grading near a new foundation can cost $3,000 to $12,000 to correct, depending on access and how much soil must be moved. Missing or poorly connected gutters can send roof runoff against the slab. Replacing a basic gutter run might cost $1,000 to $3,000; repairing erosion, landscape damage, or foundation-related cracking can push the bill much higher.
Roof details deserve close attention. A few displaced shingles are inexpensive. Improper step flashing around a chimney, wall, or roof-to-wall intersection is not. Corrective work may require removing siding or roofing, with a realistic repair range of $2,500 to $8,000 for localized defects. A roof that looks perfect from the driveway can still have water entering behind the cladding.
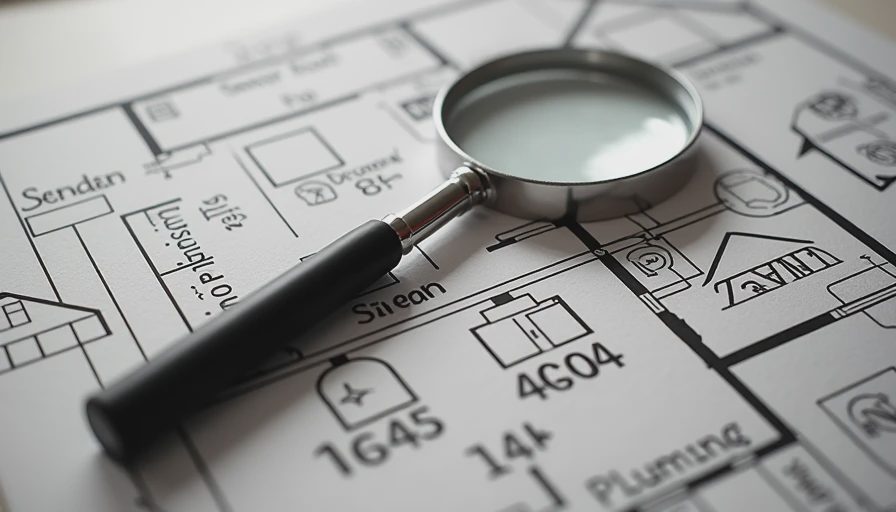
What Does a Home Inspector Look For in Structure and Water Control?
When buyers ask what does a home inspector look for in the structure, they usually expect dramatic cracks. The more useful inspection often finds smaller clues: uneven floors, doors that bind, diagonal drywall cracks, out-of-square openings, crawl-space moisture, basement staining, or a garage slab that slopes in the wrong direction.
Some shrinkage cracks are normal. That phrase is frequently used as a broom to sweep away more important questions. A crack that is widening, repeating through several finishes, or paired with sticking doors deserves documentation and monitoring. Correcting cosmetic drywall damage may cost $300 to $1,500. Stabilizing movement, correcting drainage, or repairing a damaged foundation can require $10,000 to $40,000 or more.
Water management is the real issue. Inspectors check sump pumps, foundation walls, vapor barriers, crawl-space ventilation, basement windows, plumbing penetrations, and the relationship between exterior soil and interior floors. A damp smell is not a diagnosis, but it is a reason to investigate before furniture, cabinets, and drywall conceal the evidence.
For a luxury build, I want moisture readings, photographs of vulnerable transitions, and a clear explanation of where stormwater goes during a heavy rain. “No active leak today” is not the same as “the drainage design works.” One is an observation. The other requires evidence.
What Does a Home Inspector Look For in Electrical, Plumbing, and HVAC Systems?
The systems category is where what does a home inspector look for becomes very practical. Electrical checks include service capacity, panel labeling, grounding, GFCI and AFCI protection, exposed wiring, receptacle polarity, and overloaded circuits. A missing protective device may cost $150 to $400 to correct. A panel replacement or major wiring correction can reach $3,000 to $8,000.
Plumbing inspection covers water pressure, supply lines, drain performance, shutoff valves, water heaters, fixtures, leaks, and visible insulation. A loose toilet is a small repair until it damages the subfloor. A missing pan or improper discharge line at a water heater can turn a minor leak into a finished-room demolition. Typical plumbing corrections range from $200 for fixture work to $5,000 or more for concealed leaks and damaged materials.
HVAC receives more than a temperature check. The inspector should examine condensate drainage, refrigerant lines, duct connections, insulation, filter access, equipment clearances, combustion safety where applicable, and the balance between rooms. Poorly sealed ducts waste conditioned air and create comfort problems. Reconnecting accessible ducts may cost $500 to $2,000; correcting inaccessible runs after ceilings are finished can cost several times that amount.
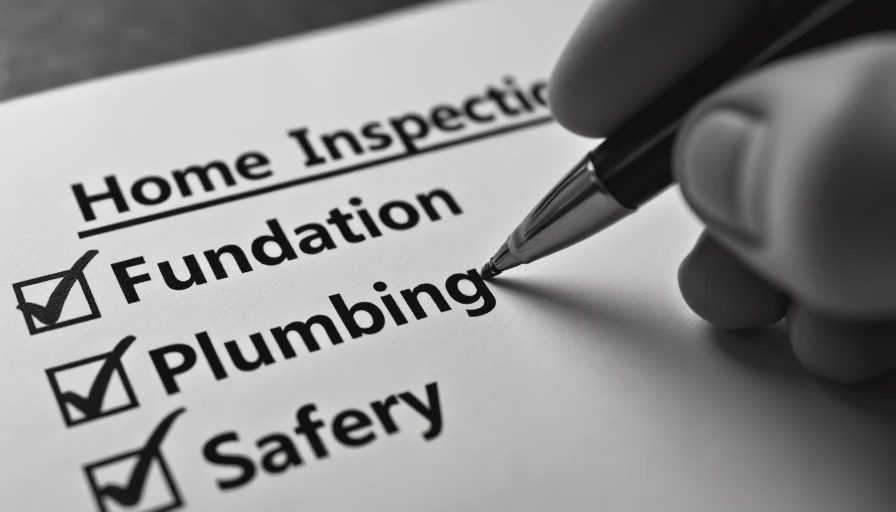
What Does a Home Inspector Look For Inside the Finished House?
Inside, the inspection covers windows, doors, stairs, railings, floors, ceilings, cabinets, countertops, fireplaces, bathrooms, appliances, ventilation, and visible finishes. This is not merely a hunt for nail pops. The pattern matters. A single cracked tile is a finish defect. Cracked tile across a bathroom, hollow-sounding flooring, and missing movement joints may point to substrate or installation problems.
Inspectors also test smoke alarms, carbon monoxide alarms, exhaust fans, garage door safety features, and accessible controls. A bathroom fan that vents into an attic instead of outdoors can create moisture damage and mold risk. Correcting the duct route might cost $500 to $2,500, depending on access.
The best reports distinguish safety defects from maintenance items and cosmetic punch-list work. A scuffed baseboard should not occupy the same priority tier as an unprotected electrical connection or active plumbing leak. Ask for photographs, locations, recommended corrections, and whether the issue should be repaired before closing.
Turning Inspection Findings Into a Real Repair Budget
A 50-page report is not a budget. To estimate the financial exposure, group findings into immediate safety work, water-control work, mechanical corrections, finish repairs, and items to monitor. Then assign a price range to each group. Sarah, who teaches math and treats rounding errors as personal insults, would reject a repair reserve based on one convenient average.
For example, imagine a new home with a missing GFCI outlet, disconnected gutter, poorly sealed attic duct, sticking exterior door, and moisture staining near the garage. The visible repairs might total $2,000 to $5,000. If the staining reflects failed grading and concealed framing damage, the exposure could become $8,000 to $20,000. The inspection does not magically produce certainty; it tells you where certainty is worth buying through targeted evaluation.
Request builder corrections in writing, photograph the completed work, and retest the affected system. Do not let a fresh coat of caulk close the file on a recurring water problem. Warranty paperwork is useful, but documentation is stronger when it identifies the defect, correction, responsible trade, and date of verification.
The Questions to Ask Before You Close
The most useful answer to what does a home inspector look for is not a list of gadgets. It is a disciplined process. Ask which findings affect safety, which can cause concealed damage, and which require a specialist. Ask whether the inspector evaluated the roof, attic, crawl space, drainage, HVAC operation, and electrical protection under normal conditions.
If a finding is described as normal settling, ask for measurements, photographs, and the threshold that would trigger further review. If the builder calls something cosmetic, ask whether the defect affects water entry, air sealing, structural movement, or system performance. Words are cheap. A documented repair scope is not.
Bring the inspection report to a cost-focused reviewer or qualified specialist when the evidence points beyond routine maintenance. Do not ask only whether there is anything wrong with the house. Ask how many dollars you have to spend to fix it, when the work must happen, and what happens if you ignore it. That is how a new-home walkthrough becomes actual due diligence.


No letters yet — pray write the first.