A $1.2 million new home can hide an HVAC problem worth $8,000 before anyone moves in. That is why an HVAC inspection belongs in your pre-closing due diligence, even when the builder insists the equipment is brand new. New does not mean commissioned, balanced, sealed, or installed correctly. It means recently purchased. Those are different things, and your bank account knows the difference.
A standard home inspection often confirms that the thermostat turns on and air comes from the registers. That is not an HVAC inspection. It is the mechanical equivalent of checking whether a new truck has tires. My approach is to determine whether the system can deliver the promised comfort, humidity control, airflow, and operating cost without quietly damaging the equipment or the building.
What an HVAC inspection should actually test
The first question is capacity. A furnace, heat pump, or air conditioner should be sized for the home using a load calculation, not a guess based on square footage. An oversized system may cool the house quickly but shut down before removing enough humidity. In Austin, that can leave a 72-degree house feeling clammy and encourage condensation problems. A replacement system for a large custom home can run $9,000 to $18,000, so discovering poor sizing before closing has real negotiating value.
The HVAC inspection should also measure supply and return temperatures, static pressure, airflow, refrigerant performance, electrical connections, condensate drainage, and duct leakage. Static pressure that is too high can indicate undersized ducts, restrictive filters, closed dampers, or a poorly designed return system. The blower works harder, comfort becomes uneven, and premature motor failure becomes more likely. A new ECM blower motor can cost roughly $700 to $1,500 installed; a compressor replacement can exceed $4,000.
Ask for the equipment model numbers and installation documentation. The inspector should compare the installed equipment with the design documents and manufacturer requirements. A mismatch between an air handler and outdoor unit is not a cosmetic paperwork issue. It can affect efficiency, warranty coverage, and performance.
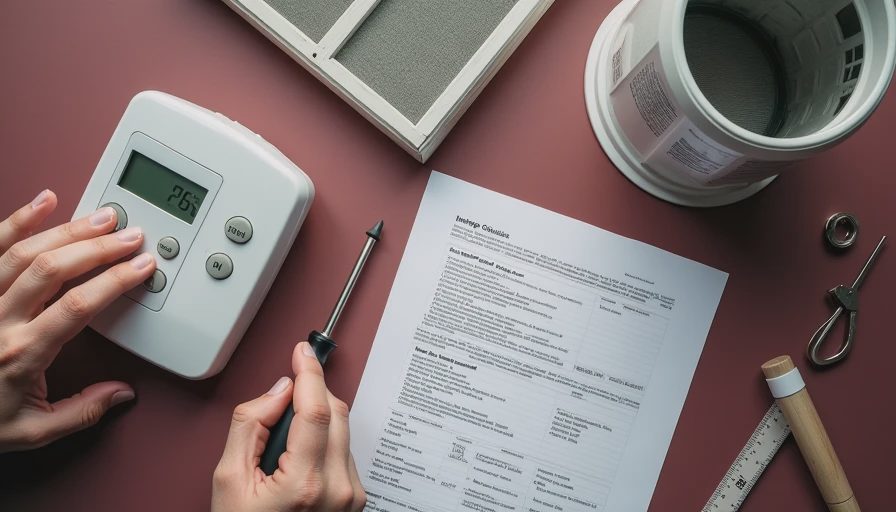
The expensive defects hiding behind “normal operation”
Builder representatives often use the phrase “operating normally” when they mean the machine made noise and produced cool air. Normal operation is not a diagnosis. I have seen new homes with a 20-degree temperature split at the unit and bedrooms that were still six degrees warmer than the living room. The equipment technically ran. The distribution system failed.
Common findings include disconnected or crushed flex duct, missing insulation at plenums, unsealed boots, ductwork resting against hot roof decking, and return grilles that are too small. A single loose connection in an attic can dump conditioned air into the insulation while the thermostat keeps demanding more. Sealing accessible duct defects may cost $500 to $2,000. Correcting a badly designed distribution system can reach $5,000 to $15,000, especially when drywall must be opened.
Condensate management deserves its own line item. A primary drain that lacks proper slope, a missing secondary pan, or an improperly terminated line can turn a clogged drain into ceiling damage. The repair may begin with a $150 service call and end with $6,000 in drywall, paint, flooring, and mold-related cleanup. Water does not care that the home passed final inspection.
How to perform the walkthrough without getting theater
Schedule the HVAC inspection when the system has been operating long enough to reveal problems. A five-minute demonstration with every interior door open tells you almost nothing. Run heating and cooling modes when conditions permit, then record temperatures in the main living area, primary bedroom, remote bedrooms, and upper floors. A practical target is reasonably consistent comfort, not identical readings in every room.
Look at the thermostat location. If it sits near a supply register, in direct sun, above an appliance, or beside a frequently opened exterior door, it may read the room inaccurately. Check filters for correct size and access. Inspect attic equipment for platform stability, service clearance, insulation gaps, staining, and exposed refrigerant lines. Photograph model and serial numbers, drain terminations, and any visible duct defects.
Do not let a clean mechanical closet distract you from the air path. Many expensive failures are above the ceiling, inside chases, or at roof penetrations. If an inspector cannot access those areas, the report should say so plainly rather than implying the system is verified.
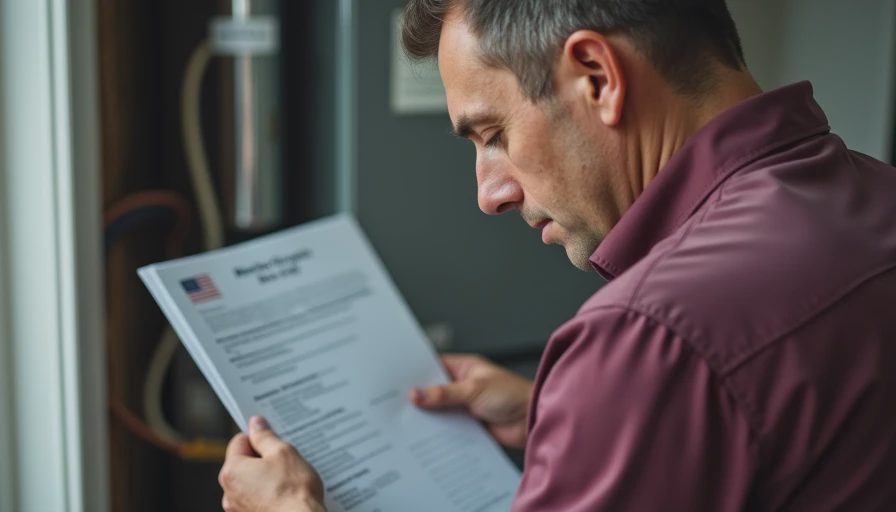
A realistic repair reserve for a new home
For a minor punch-list package, budget $300 to $1,500 for sealing, drain corrections, insulation repairs, damper adjustments, and thermostat issues. A moderate correction involving duct replacement, return enlargement, or electrical improvements can run $2,000 to $7,500. A major design defect involving multiple zones, inaccessible ductwork, equipment mismatch, or replacement equipment can exceed $15,000 and occasionally approach $25,000.
Those figures are not a reason to panic. They are a reason to stop treating “new construction” as a repair reserve of zero. If the HVAC inspection finds a disconnected duct before closing, the builder can usually correct it while crews, lifts, and finish-trade access are still available. After closing, the same repair becomes your scheduling problem, with your furniture, family, and patience in the way.
For a luxury property, I would rather see a documented $3,000 correction than a vague warranty promise. The first gives you a defined scope. The second gives you a phone number and a future argument.
How to document findings and force useful answers
Write each issue as a measurable defect. “Upstairs is warm” is weak. “Primary bedroom measured 78 degrees while the hallway measured 72 degrees after continuous cooling, with low airflow at the bedroom register” is actionable. Attach photographs, temperature readings, equipment data, and the location of each concern.
Request a written correction plan identifying the responsible trade, proposed repair, and retest date. A technician should verify airflow and temperature performance after the work, not simply mark the item complete. For a serious concern, obtain a second HVAC inspection from an independent licensed professional rather than relying only on the installing contractor. The contractor knows the system; the independent inspector is paid to question it.
Do not accept “the warranty covers it” as a substitute for testing. A warranty can address a failed component while leaving poor design, inadequate airflow, or comfort complaints unresolved. Those are different categories of trouble.
The closing decision is about dollars, not reassurance
An HVAC inspection is inexpensive compared with a replacement system, water-damaged ceiling, or years of uneven comfort. For many homes, a focused evaluation costs a few hundred dollars. That is a small charge against a six-figure decision and a useful filter for builder confidence.
The question is not whether the system turns on. The question is whether it was selected, installed, sealed, drained, balanced, and documented well enough to protect the house and your cash flow. If the builder fixes measurable defects before closing, excellent. If the response is a tour of the thermostat and a promise that everything is standard, keep the highlighter out.
Do not ask me if there is anything wrong with this house. Ask me how many dollars you have to spend to fix it. An HVAC inspection gives that question a number.




No letters yet — pray write the first.