A pre drywall walkthrough can save you $10,000, $40,000, or the cost of opening finished walls after closing. This is the short window when framing, electrical wiring, plumbing, ductwork, and structural connections are visible before insulation and drywall turn the house into a sealed box. If you are buying a $1 million new build, this is not a casual tour with a hard hat for the family photo. It is a forensic inspection of work that will soon be expensive to reach.
The builder may call the exposed interior "on schedule." I call it the last inexpensive opportunity to find mistakes. Once drywall is installed, a misplaced drain line can require demolition, a missing blocking point can become a cabinet problem, and an incorrect beam connection can hide behind texture and paint. Don't ask whether the house looks impressive. Ask how many dollars you will spend if the concealed work is wrong.
What a Pre Drywall Walkthrough Actually Covers
A useful pre drywall walkthrough is not a room-by-room beauty inspection. It follows the systems. Start with the structural shell: foundation transitions, framing alignment, beams, posts, headers, trusses, stair openings, and exterior wall penetrations. Look for twisted studs, cut or drilled framing members, unsupported headers, and gaps where a framed wall meets a beam or masonry surface.
Next, trace the mechanical systems. Electrical cables should be protected from fasteners with nail plates where they pass through framing, and junction boxes should be accessible rather than buried behind future cabinets. Plumbing should have proper support, clean routing, and no unexplained low spots in drain lines. HVAC ducts need room for insulation, sealed connections, and sensible routes that do not crush against framing.
Bring the approved plans, a tape measure, flashlight, phone camera, and a marker. Do not mark the structure yourself without permission, but photograph every concern with a location reference. A picture of a pipe is weak evidence. A picture showing the pipe, room, wall, and nearby window gives the project manager something he can actually find.

The Five Costly Problems Hidden in Open Walls
The first expensive category is framing modification. A carpenter may notch a stud for a pipe or drill an oversized hole for convenience. One isolated repair may cost $150 to $400. A repeated pattern across several walls can run $2,000 to $8,000 after engineering review, added lumber, labor, and schedule disruption. The pre drywall walkthrough is where you identify repetition before it becomes finished-wall surgery.
The second category is water management. Look at shower valves, tub plumbing, exterior hose bibs, roof penetrations, window openings, and any line routed through an exterior wall. You are checking more than leaks. You are checking whether insulation, air sealing, and flashing can be completed without improvisation. A concealed leak behind a finished shower can create a $15,000 to $30,000 remediation problem, especially when cabinetry, tile, and flooring are involved.
Electrical errors are smaller individually but costly in aggregate. Count outlet boxes against the plans, inspect switch locations, and confirm dedicated circuits for appliances, garage equipment, water heaters, and exterior loads. At this stage, relocating a box might cost $100 to $300. After drywall, paint, backsplash, and built-ins, the same change can become a $1,000 cosmetic repair.
Finally, inspect penetrations through fire-rated assemblies and top plates. Missing fire blocking, poorly sealed plumbing penetrations, and open chases allow smoke, air, and sound to travel where they should not. These are not decorative defects. They are concealed performance failures with a very unpleasant invoice attached.
How to Read Builder-Speak Without Losing the Budget
During a pre drywall walkthrough, expect phrases such as "within tolerance," "typical for the trade," and "we will address it at punch." Those statements are not measurements. Ask for the tolerance, the responsible trade, and the date of correction. If a framed opening is 3/8 inch out of position, determine whether the cabinets, doors, tile layout, and appliances still fit. A small framing error can become a chain reaction of expensive trim work.
When someone says a pipe will be insulated later, ask whether there is enough clearance to install the specified insulation without compressing it. When a conduit is routed through a beam pocket, ask whether the structural detail permits it. When a drain line has an awkward bend, ask how the slope was maintained. Plain questions expose the difference between planned work and field improvisation.
I am not interested in humiliating a contractor over one crooked stud. I am interested in patterns. Ten rushed penetrations tell me more than one bad cut. A neat-looking room can still contain a $6,000 correction hiding behind every future sheet of drywall.
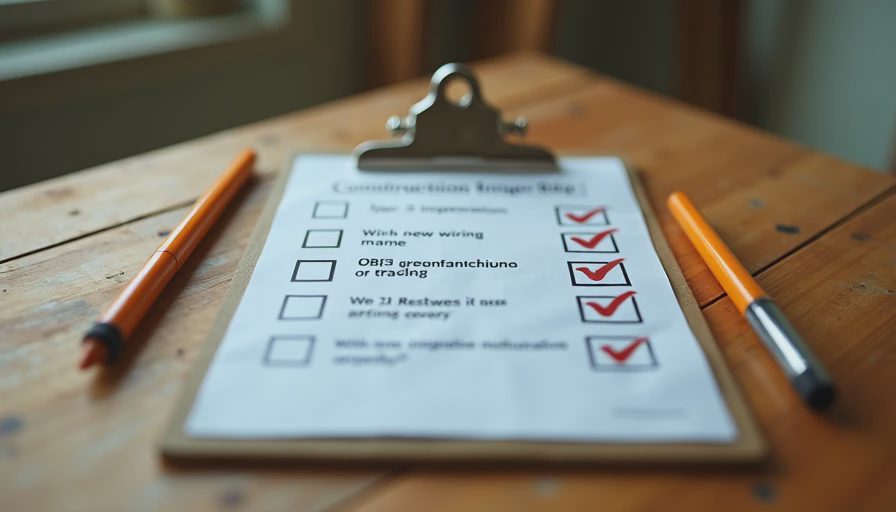
A Practical Room-by-Room Inspection Method
Walk the exterior walls first. Check window corners, door openings, plumbing walls, and every location where insulation must fit tightly. Use your plans to confirm window sizes and sill heights, particularly where custom shades, built-ins, or stone counters are already ordered. A two-inch error at a luxury kitchen window is not a minor inconvenience when the countertop has been fabricated.
Then walk the wet rooms. Photograph shower niches, valves, diverters, toilet flanges, tub drains, and supply lines. Confirm that blocking exists for grab bars, floating vanities, shower doors, handrails, and wall-mounted televisions. Blocking added now may cost a few hundred dollars. Adding it after tile is installed can require demolition and replacement of several thousand dollars in finished work.
Finish with the attic, garage, utility room, and exterior penetrations. Look for duct conflicts, condensate routing, equipment clearances, low-voltage wiring, hose bib support, and garage door framing. In Texas construction, pay particular attention to air-sealing details and penetrations through the thermal envelope. Hot, humid air does not need an invitation; it finds every one.
What to Put in the Correction Log
A correction log should identify the exact location, defect, required action, responsible trade, photo number, and completion status. "Fix wiring upstairs" is a complaint. "Second-floor hallway switch box is six inches from plan location and conflicts with door casing; relocate before drywall" is a work order.
Assign a reasonable cost to each item. A missing blocking detail might be $200. A poorly routed plumbing group might be $1,500. Reframing a stair opening or correcting a structural connection can move into the $5,000 to $20,000 range because it may require engineering, demolition, and multiple trades. These are planning numbers, not contract demands, but they keep the conversation anchored to consequences rather than reassurance.
Take a second set of photographs after corrections. Do not rely on memory or a verbal promise from a superintendent who is managing dozens of open items. Sarah would put a red line through any spreadsheet cell marked "probably handled." She is right. Construction records should show what was wrong, what changed, and what remains unresolved.
When to Bring in a Specialist
A standard inspection is useful, but a pre drywall walkthrough benefits from a specialist when the house includes long-span beams, retaining walls, complex roof framing, radiant systems, geothermal equipment, extensive smart-home wiring, or custom millwork. An engineer can evaluate structural questions. A qualified electrician, plumber, or HVAC professional can assess trade-specific routing that a general inspector may document without pricing.
The fee for a focused review is commonly far below the cost of reopening finished walls. Spending $1,500 to $4,000 on serious due diligence is easier to justify when one missed defect can consume $20,000 of your repair reserve. This is not about finding a reason to reject every new house. It is about buying the house with your eyes open and the concealed-risk ledger priced.
Schedule the pre drywall walkthrough before insulation and drywall begin, bring the plans, and insist on written follow-up. The window is short. Your leverage is strongest before the work is covered. Once the walls are closed, every correction gets slower, dirtier, and more expensive. That is the entire point of walking the house now.



No letters yet — pray write the first.