A pre closing inspection is not a ceremonial walk through a house while the builder's representative points out the smart thermostat. It is the last practical opportunity to identify defects before your leverage drops and your repair requests become a warranty conversation. On a $1.2 million new build, a serious inspection can uncover $15,000 to $60,000 in immediate work, depending on the structure, mechanical systems, drainage, and finish quality.
The question is not whether anything is wrong. New houses are built by humans, often under schedule pressure, and humans leave fingerprints on everything from roof flashing to shower waterproofing. The useful question is how many dollars you will spend fixing those fingerprints after closing.
Why New Construction Still Needs a Pre Closing Inspection
New does not mean tested. It means recently assembled. A house can have brand-new appliances, unopened paint cans, and a slab that is still moving through its first seasonal cycle while containing serious defects.
A standard buyer inspection often catches visible conditions: an outlet that does not work, a leaking faucet, missing attic insulation, or a cracked window. Those findings matter, but expensive problems often hide behind finished surfaces. A missing kick-out flashing detail can send rainwater into a wall. Incorrect grading can push stormwater toward the foundation. An HVAC system can run while delivering poor airflow because a return duct is undersized or crushed.
For a luxury home, I want more than a list of defects. I want a cost-ranked punch list. A loose cabinet hinge is a five-minute correction. A failed shower pan is a demolition project that can run $8,000 to $20,000 after tile, drywall, flooring, and trim are removed. Treating those items as equal is how buyers end up with a 50-page report and no usable budget.
The pre closing inspection should happen after construction is substantially complete, but before furniture, storage, and landscaping hide access points. If possible, schedule it after utilities are active and after heavy cleaning, when dust and construction residue are no longer covering the evidence.
The Five Cost Zones I Inspect First
The first zone is water control. Walk the roofline, valleys, penetrations, gutters, downspouts, exterior doors, windows, hose bibs, and grading. Look for staining, unsealed joints, negative slope, and downspouts that discharge beside the foundation. A correction might cost $300 for extensions or $2,000 for grading and drainage work. If water has entered a wall cavity, the reserve can climb to $15,000 or more.
The second zone is the building envelope. Check siding transitions, masonry joints, window flashing, stucco cracks, and caulk that has already separated. A builder may call a small gap “cosmetic.” That is not a diagnosis. A gap at a control joint may be normal; a gap at a window head can be an invitation for water. The difference is location, not optimism.
The third zone is the slab and structure. Measure suspicious floor slopes, inspect foundation penetrations, review framing around large openings, and photograph cracks with a scale. A hairline drywall crack is not automatically structural. A floor that drops 3/8 inch across a room, doors that swing open by themselves, and repeated cracking near beams deserve engineering attention. Corrective costs range from $500 for drywall repair to tens of thousands for structural remediation.
The fourth zone is mechanical performance. Test every HVAC mode, confirm temperature differences between rooms, inspect condensate drainage, and look for disconnected or poorly supported ductwork. A new $18,000 HVAC system that cannot keep the upstairs bedroom comfortable is not a successful installation.
The fifth zone is finish quality with financial consequences. Tile lippage, hollow tile, uneven flooring, damaged stone, leaking fixtures, and misaligned doors may appear cosmetic, but replacement often requires removing adjacent materials. Photograph the condition before the pre closing inspection ends, including wide shots that establish location and close-ups that show scale.
What the Builder’s Punch List Usually Misses
A builder punch list is designed to finish the house. Your inspection is designed to protect your balance sheet. Those goals overlap, but they are not identical.
The punch list may include paint touch-ups, scratched trim, missing hardware, and cabinet adjustments. It may not include a roof-to-wall flashing defect because nobody wants to open the wall. It may note “drainage to be monitored” instead of assigning a $4,000 correction. It may describe a bathroom door that sticks without checking whether the floor is out of level.
During a pre closing inspection, I separate observations into three categories: immediate safety or water risks, performance failures, and finish corrections. That structure prevents the builder from burying a drainage defect beneath twenty small caulk repairs. It also gives you a cleaner record for verifying completion.
For each major finding, document the location, condition, likely cause, recommended correction, and realistic cost range. “Fix roof” is useless. “Seal unflashed plumbing penetration at north roof slope, inspect sheathing below, and replace damaged insulation if wet” is actionable. The second version also tells you whether the proposed repair actually addresses the cause.
A Practical Cost Ledger for Common Findings
Here is the rough order of magnitude I use when reviewing a new home. Minor drywall, paint, and trim corrections may total $500 to $3,000. Window and door adjustment work often falls between $300 and $2,500, unless damaged units need replacement. Exterior drainage corrections commonly run $1,500 to $8,000, with retaining walls and extensive grading costing more.
Roof flashing repairs can range from $750 to $5,000. A localized plumbing leak behind finished walls may cost $2,000 to $7,500 after demolition and restoration. Shower waterproofing failure is commonly an $8,000 to $20,000 problem. HVAC balancing, duct repair, and control corrections may run $500 to $4,000, while replacement equipment is a different conversation entirely.
These are planning ranges, not bids. Access, material matching, regional labor, and the builder's chosen repair method affect the final number. Still, a cost range is better than the familiar phrase “we will have someone take a look.” Sarah would put that phrase in red ink on the spreadsheet and circle it twice.
How to Run the Walkthrough Without Losing the Thread
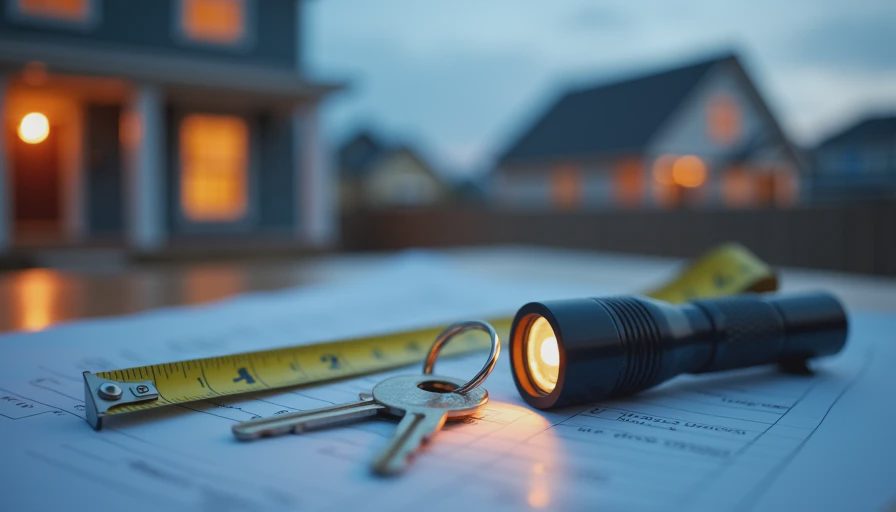
Bring a flashlight, outlet tester, moisture meter, tape measure, ladder if permitted, phone charger, camera, and a printed room-by-room checklist. Start outside and work clockwise. Photograph every elevation before entering. Then move through the attic, garage, utility spaces, living areas, bedrooms, and bathrooms in the same direction.
Turn on multiple fixtures at once. Run showers while flushing toilets. Operate windows, locks, garage doors, fans, range hoods, disposal, refrigerator water supply, and every light switch. Check that GFCI devices trip and reset where installed. Look beneath sinks, around water heaters, inside electrical panels, and behind accessible HVAC equipment.
Do not let a representative rush the process with a promise that the warranty team will handle it later. Warranty service is useful, but it is not a substitute for identifying the defect before closing. A repair that is visible, documented, and assigned a dollar value is harder to minimize than a vague complaint made three months later.
After the pre closing inspection, create a final list with photographs, responsible trade, completion status, and a reinspection date. Do not accept “complete” because someone applied caulk over the evidence. Verify the correction and test the affected system again.
When a Repair Reserve Is More Honest Than a Promise
Some repairs cannot be completed before closing because materials are backordered, weather prevents exterior work, or the builder needs an engineer's design. That does not make the problem disappear. It means the financial exposure must be documented clearly, with enough money and time reserved to finish the work.
A $2,000 allowance for a drainage correction may be reasonable in one case and laughable in another. If excavation, soil replacement, new pipe, landscaping restoration, and interior moisture testing are involved, the number should reflect the whole scope. I have seen buyers focus on a $700 appliance scratch while ignoring a drainage defect that could consume $18,000.
Use the pre closing inspection to rank risk, not to collect cosmetic trophies. The best outcome is a clean, tested house. The next best outcome is a documented repair plan with a realistic budget. Either is better than signing first and discovering that “new” was simply the builder's word for “not your problem yet.”



No letters yet — pray write the first.