A $1.2 million new home can hide $30,000 in corrections behind fresh paint, spotless floors, and a builder's confident handshake. This new construction inspection checklist is designed for buyers who understand that “brand new” describes the age of the materials, not the quality of the installation. I have walked enough new builds to know that the expensive failures are rarely dramatic on the day of closing. They are small deviations, missing documentation, and rushed work that become invoices after the warranty period expires.
Start With the Structure and Water Management
The first question is not whether the house looks finished. It is whether water is being directed away from the structure. Walk the entire perimeter after rain if possible. Look for soil that slopes toward the foundation, downspouts that discharge beside the slab, exposed foundation walls, and low areas where water can sit. Correcting grading after landscaping is installed can cost $3,000 to $12,000. Rebuilding a failed drainage system around a large custom home can run $15,000 to $40,000.
Inside, inspect ceilings, window corners, baseboards, and the lowest levels of walls for staining, swelling, or fresh caulk. A freshly painted patch is not proof of a repair; it is proof that somebody wanted the evidence to become less visible. Check window and door installations for gaps, uneven reveals, missing sealant, and water trapped in tracks. A single failed opening may cost $500 to $2,000 to correct, while widespread flashing defects can become a five-figure envelope project.
The slab deserves more than a quick glance. Use a straightedge on long tile runs and look for doors that drag, cracked grout, and unusually wide floor transitions. “Some settling is normal” does not explain a 3/8-inch elevation change across a room. It may indicate framing movement, slab tolerance problems, or poor substrate preparation. Tile replacement alone can cost $8,000 to $25,000 in a large living area.

Inspect Framing, Roof Lines, and Attic Work
A useful new construction inspection checklist includes areas most buyers never enter. In the attic, look for crushed insulation, compressed ductwork, disconnected bath vents, daylight around roof penetrations, and wiring buried under insulation without clear access. Bath fans should exhaust outdoors, not into the attic, where warm moisture can feed mold and damage roof framing. Correcting several poorly routed vents commonly costs $1,500 to $6,000 before any concealed damage is addressed.
From the ground, sight along roof planes and compare eaves, ridges, and valleys. Uneven lines can signal framing errors, roof sheathing problems, or settlement. In a luxury home with complex hips, valleys, and low-slope sections, replacement or reframing is not a handyman exercise. A localized roof correction may cost $2,000 to $8,000; extensive structural work can exceed $25,000.
Check the garage slab, overhead door, and fire separation. The door should close evenly, seal against the floor, and reverse when its sensor beam is interrupted. Look for gaps around the house-to-garage door, missing drywall, and unsealed penetrations. These are safety and air-quality concerns, not cosmetic punch-list items. Document each finding with a wide photograph, a close-up, and a ruler or level showing scale.
Test Every Mechanical System Under Load
Do not settle for “the systems are operational.” Operate heating and cooling in both modes when conditions allow. Record supply and return temperatures, listen for vibration, and check whether rooms at the ends of ducts are materially warmer or colder. Poor balancing can leave a buyer paying for an expensive system that never makes the house comfortable. Duct repairs and balancing may cost $1,000 to $5,000, while inaccessible duct replacement can become a $10,000-plus problem.
Run every plumbing fixture at the same time. Flush toilets while showers run, fill tubs, operate exterior hose bibs, and inspect cabinets for leaks. Watch the water heater discharge line and confirm that drain pans, shutoff valves, and expansion equipment are installed where required by the design. Slow drainage, hammering pipes, or temperature swings deserve written correction before closing. Replacing a defective valve is cheap; opening finished walls to repair a hidden leak is not.
Test electrical panels, GFCI protection, AFCI protection, exterior receptacles, lighting controls, smoke alarms, and carbon monoxide alarms. Confirm that labeled breakers match the equipment they control. Smart-home features deserve a separate inventory: thermostats, access points, cameras, motorized shades, and control hubs should be tested and transferred with manuals, credentials, and warranty information.
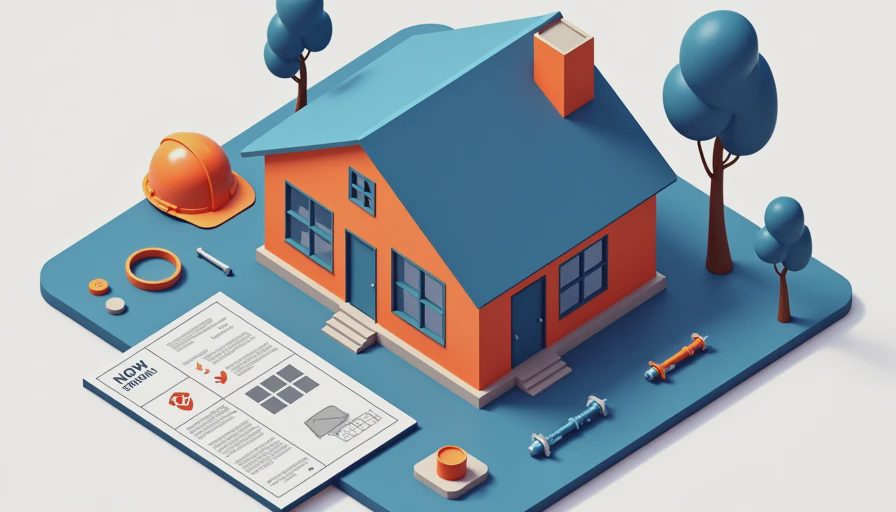
Treat Finishes as Evidence, Not Decoration
The cosmetic portion of this new construction inspection checklist still matters because finish defects often reveal rushed substrate work. Shine a flashlight across painted walls at a low angle. Look for joint lines, fastener pops, sanding scratches, roller texture changes, and corners that are not straight. A few drywall repairs might cost $300 to $1,000. Repainting an entire great room after failed patching can run $3,000 to $8,000.
Inspect hardwood for excessive gaps, cupping, hollow spots, and transitions that do not sit flat. Check tile for lippage by placing a straightedge across adjoining pieces. Cabinet doors should align, drawers should operate smoothly, and stone countertops should have consistent seams without unsupported overhangs. These details are not about demanding museum perfection. They are about separating ordinary touch-up work from installation defects that become much harder to fix after furniture, rugs, and appliances arrive.
Use a moisture meter selectively on suspicious areas, but do not treat one reading as a diagnosis. Moisture conditions depend on material, temperature, and recent weather. The practical point is to identify locations that deserve invasive testing or a specialist's report before the builder's team closes the file.
Build a Costed Correction Plan
A builder's punch list often says “adjust door,” “repair drywall,” or “seal exterior.” Those phrases are not budgets. Rewrite each item with a location, observed condition, probable cause, required trade, and estimated cost. “Repair water intrusion at rear window” is more useful than “window issue.” Attach photographs and note whether the correction requires opening finished surfaces.
Separate findings into three groups: safety or water intrusion, concealed-performance risks, and cosmetic work. The first group gets immediate attention. The second requires technical documentation, not a promise that a crew will return. The third can be scheduled efficiently once the serious work is complete. For a high-value property, a $5,000 to $10,000 independent inspection and cost review can expose a repair reserve that is several times larger. That is not an expense competing with the purchase price; it is the math required to understand it.
Ask for completion records, permits where applicable, equipment manuals, roof and window warranties, and proof of testing for major systems. I am an engineer, not your attorney, so I do not interpret contract language. I do know that undocumented work is difficult to price, verify, or defend when the people who installed it are no longer answering calls.
Final Walkthrough Before You Sign
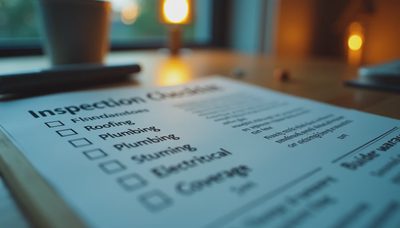
Return after corrections, not just after the builder says they are complete. The final new construction inspection checklist should include every original photograph and a status beside each item. Operate the repaired door, run the corrected fixture, inspect the patched ceiling, and look behind the access panel. A closeout visit should take long enough to test the work, not merely admire the fresh paint.
Bring a phone charger to test outlets, a flashlight, a small level, painter's tape, and a notebook. Photograph serial numbers for HVAC equipment, water heaters, appliances, and electrical panels. Confirm that keys, remotes, filters, spare materials, and access codes are present. Make a simple room-by-room record so a missing garage remote does not get buried among twenty pages of cosmetic notes.
The agent may say the home is nearly perfect. The builder may say the remaining items are normal. Those statements are not measurements. Ask instead: what is wrong, what caused it, what will the correction cost, and who is responsible for proving it is fixed? Don't ask me if there is anything wrong with the house. Ask me how many dollars you have to spend to fix it.

No letters yet — pray write the first.