A new house can hide $25,000 in repair exposure behind clean paint, unused appliances, and a builder's cheerful phrase: "We'll take care of it." These new home buyer inspection tips are designed for buyers who want more than a 50-page checklist. New construction is not automatically trouble-free. It is simply a fresh opportunity for rushed work, incomplete documentation, and defects that have not had time to become obvious.
The question is not whether the house has flaws. Every house does. The useful question is how many dollars those flaws represent, whether they affect safety or water control, and whether the builder's proposed fix is durable. A loose cabinet hinge is a warranty item. A sloped shower pan that sends water into the wall is a liability with a much larger invoice attached.
Inspect Before the Final Walkthrough
The best inspection happens before the builder's final punch list, ideally while walls and ceilings are still accessible. If you wait until the day before closing, the leverage changes. Workers are rushing, trades have demobilized, and cosmetic touch-ups can conceal the evidence you needed to see.
Start outside. Walk the lot after rain if possible. Look for soil that slopes toward the foundation, downspouts that discharge beside the slab, standing water near patios, and irrigation spray hitting stucco or siding. Correcting drainage after landscaping is complete can cost $3,000 to $15,000. Regrading, replacing damaged soil, and repairing a saturated foundation edge is not a weekend shovel project.
Inside, bring a six-foot level, outlet tester, flashlight, moisture meter, and phone charger. Test every receptacle, including garage and exterior outlets. Open electrical panels and photograph circuit labels. A panel full of unlabeled breakers is not an emergency, but it is evidence that the closeout was treated like paperwork instead of quality control.
Follow Water, Air, and Structure First
Cosmetic defects annoy you. Water defects own your calendar. New home buyer inspection tips often focus on nail pops and paint, while the expensive findings sit at transitions: roof penetrations, window corners, deck attachments, shower curbs, and the joint between a garage slab and the house foundation.
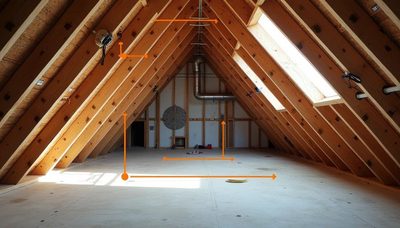
Use the flashlight at a low angle along ceilings and walls. Look for patched drywall, swollen trim, discolored grout, and insulation that appears compressed or missing. In an attic, inspect the underside of roof decking for staining and verify that bathroom exhaust ducts terminate outdoors rather than dumping moist air into insulation. Replacing a poorly routed duct may cost $400 to $1,200. Remediating moldy insulation and damaged framing can run $5,000 to $20,000.
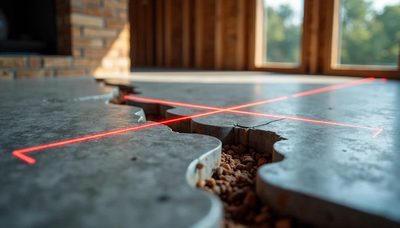
Structure requires a different level of attention. Cracks wider than a hairline, doors that bind, floors that visibly slope, and masonry cracks that continue through several courses deserve documentation and measurement. "Normal settling" is not a diagnosis. A structural engineer can determine whether movement is cosmetic, active, or related to drainage and soil conditions. The inspection report should record width, location, direction, and change over time rather than simply calling a crack minor.
Price the Punch List Instead of Counting It
A punch list with 47 items sounds worse than one with 12, but item count is nearly meaningless. Forty-seven paint touch-ups might represent $1,500. One incorrectly installed shower waterproofing system can represent $12,000 to $30,000 after tile, drywall, cabinetry, and flooring are removed.
New home buyer inspection tips become more useful when every finding gets a rough cost and priority. Group defects into safety, water control, building performance, durability, and appearance. Safety issues include missing guardrail components, reversed polarity, absent anti-tip brackets, and improper combustion venting. Water-control issues include failed flashing, negative grading, unsealed penetrations, and shower waterproofing defects.
For a high-end home, consider the difference between a builder's patch and a proper correction. Recaulking a window may cost $250, but replacing failed flashing behind the cladding could cost $4,000 to $12,000. Painting over a ceiling stain costs $150; tracing the roof or plumbing source and repairing the assembly can cost several thousand dollars. The cheapest visible fix is not necessarily the cheapest ownership outcome.
Ask for a written scope, not a promise. "Repair as needed" tells you almost nothing. A useful scope identifies the trade, material, location, access method, and test required after completion. Sarah would red-pen a budget without quantities, and she would be right.
Test Systems Under Real Conditions
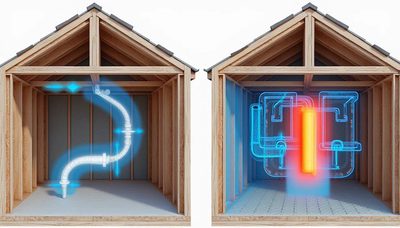
Turn on multiple plumbing fixtures at once. Run the shower while a toilet is flushed, fill a bathtub, operate the dishwasher, and check whether hot water arrives consistently. Look beneath sinks for leaks, unsupported drain lines, and missing escutcheons around supply pipes. A small supply leak can damage cabinets before anyone notices it.
Test heating and cooling in every room, including bonus spaces and finished garages. Compare supply and return airflow with your hand, then inspect accessible duct connections for gaps or disconnected insulation. A luxury home with one bedroom six degrees warmer than the others has a design or balancing problem, not merely a personal preference issue. Airflow balancing might cost $300 to $1,500; correcting inaccessible ductwork after drywall is finished can cost much more.
Operate windows, doors, garage doors, exhaust fans, fireplaces, smart controls, and pool equipment. Confirm that each appliance has power, water, drainage, and manufacturer-required clearances. Photograph serial numbers and model plates. If a warranty claim becomes necessary, that record is far more useful than remembering that "the big stainless appliance" made a strange noise.
Demand Better Verification From the Builder
A builder's warranty manager may respond quickly and still propose an incomplete fix. Speed is not the same as resolution. For every significant defect, ask what caused it, what materials will be removed, who will perform the work, and how the result will be tested.
For grading, request confirmation that water flows away from the foundation after correction. For windows, ask how flashing and the water-resistive barrier will be restored, not just whether exterior caulk will be replaced. For HVAC complaints, request measured supply and return temperatures or airflow readings. For electrical concerns, request correction by a qualified electrician and a documented test.
New home buyer inspection tips are not a substitute for judgment, but they prevent vague language from becoming an expensive handoff. If a builder says a condition is within tolerance, ask for the tolerance, the measurement, and the applicable installation requirement. You do not need to argue like a lawyer. You need a record that turns conversation into accountable work.
Build a Closing-Day Reserve
Even a conscientious builder will not eliminate every future expense. Set aside a repair reserve based on observed risk, not on the comforting age of the house. For a well-built new home, a few thousand dollars can cover ordinary adjustments, appliance issues, and landscaping corrections. A home with drainage concerns, incomplete attic work, or complicated exterior details deserves a substantially larger reserve, often $10,000 to $25,000 until the evidence is resolved.
Before closing, repeat the inspection after repairs. Bring the original report, photographs, and a measuring tool. Check that removed materials were actually replaced, stains did not return, doors still operate, and fixtures were not damaged by the repair crew. A fresh coat of paint is not proof that a leak is fixed.
The practical standard is simple: no major water, structural, electrical, or life-safety issue should be accepted because the house is new. Use these new home buyer inspection tips to turn a walkthrough into a cost audit. If the numbers are unclear, hire an independent inspector or engineer who can price the exposure instead of merely describing it. Do not ask whether there is anything wrong with the house. Ask how many dollars you have to spend to fix it.

No letters yet — pray write the first.