The new build final walkthrough vs inspection question is where a lot of buyers leave money on the table. A builder-led walkthrough is usually a closeout meeting: doors open, lights on, blue tape out, everyone nods at paint touchups and missing trim. An independent inspection is a defect hunt with tools, not optimism. On a $1.2 million new home, the difference between those two appointments can be a $450 inspection bill and a $7,000 repair that never makes it to your side of the ledger.
A walkthrough costs almost nothing because the builder wants the closing. A third-party inspector typically charges $400 to $900 for a standard new build, and larger homes or multi-stage inspections can run higher. That fee buys a moisture meter, outlet tester, ladder access, and a report that says what failed, where it failed, and what it may cost. If the painter buried half the sins under fresh color, that report is usually cheaper than one bad shower rebuild.
Why the new build final walkthrough vs inspection split matters
The new build final walkthrough vs inspection split matters because the two appointments answer different questions. The walkthrough asks whether the house looks complete enough to close. The inspection asks what is already wrong, what is likely to fail, and what that will cost to fix. Builders are trying to finish the job and hand over keys. Inspectors are trying to catch the problems that become warranty emails, callbacks, and repair reserves.
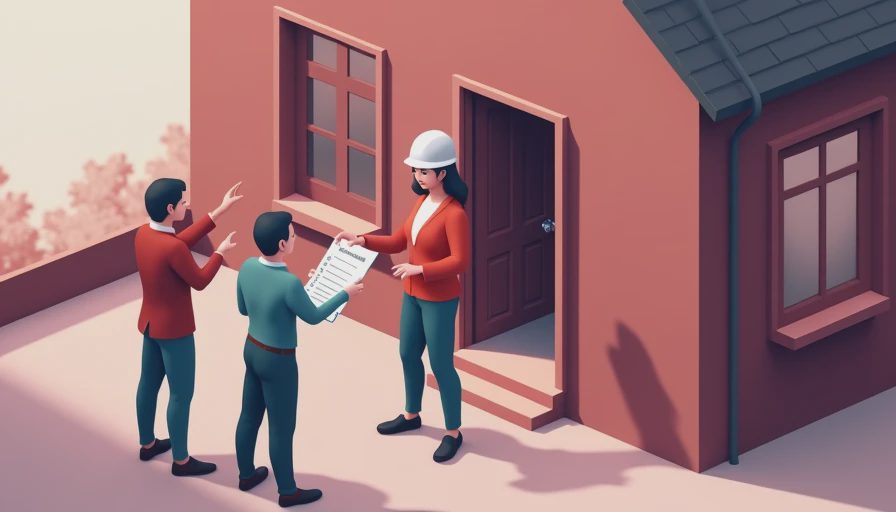
At the walkthrough, you should confirm the obvious but expensive stuff: the oven works, the garage door reverses, the water heater fires, every window opens, the thermostat powers up, and the right finishes are actually installed. I have seen buyers discover missing appliances, the wrong cabinet pulls, or a cracked sink after they signed because nobody verified them while standing there. A missing strike plate is a $25 nuisance. A bad shower slope is a $3,500 demolition problem wearing tile.
The walkthrough is for completeness. The inspection is for defects. Confusing the two is how a buyer ends up believing a tidy room means a healthy house.
What a walkthrough should catch before closing
A decent walkthrough is not casual. It is a last chance to make the builder fix finish-level problems before the paperwork hardens. Check paint, caulk, cabinet alignment, doors that rub, chipped tile, loose handrails, missing outlet covers, stained drywall, and broken window locks. Open every faucet. Run every appliance. Flush every toilet. Test the HVAC in heating and cooling if the weather allows. Look at the attic access, the garage seal, and the grading outside the front and back doors.
This is also where you catch the items that are cheap now and annoying later. A sticking door may only need a hinge adjustment. A bad slope at a shower threshold can lead to recurring water at the baseboard. A missing splash block or short downspout extension can dump water against the slab and turn into a drainage headache after the first hard rain. If the punch list is weak, a tired buyer can miss a problem that becomes a real repair six months later.
What the inspection finds that the builder will not volunteer
This is where the inspector earns the fee. A proper inspection looks past the lipstick and into the assembly. On a new home, that means attic insulation gaps, missing roof flashing, improper nail patterns, reversed polarity in outlets, loose plumbing traps, HVAC condensate problems, and water management failures around windows and foundations. It can also catch things the builder crew never sees because the surface looks clean. Drywall hides a lot. Fresh paint hides more.
The big money items usually live in moisture and movement. A small roof leak can stay quiet for months and then become a $4,000 to $12,000 drywall, paint, and insulation repair. Poor site drainage can run $2,000 to $8,000 once you start correcting slopes, adding drains, or reworking landscaping. A shower pan problem can jump from a simple report note to a full tear-out that eats $3,000 to $7,000. On luxury homes, those numbers climb fast because the finishes are custom and the labor is not cheap.
The builder can shrug at a verbal complaint. A measured, photographed defect with a dollar range is harder to wave away.
Where the real money hides in a new house
Most buyers think the expensive problems are dramatic, but the real budget killers are boring. It is the window that is not flashed correctly, the attic hatch with no insulation cover, the tub drain that was set too low, or the HVAC system that is technically installed but not balanced well enough for the back bedroom. None of that looks like a disaster on closing day. All of it can become one after a season of living in the house.
If you want a rough budget framework, think like this: the walkthrough handles the $100 to $500 items, while the inspection often exposes the $1,000 to $10,000 items. Once water intrusion, structural movement, or bad site drainage enters the picture, the repair reserve can jump into five figures fast. That is why I tell buyers not to ask whether the house has anything wrong with it. Ask how many dollars you need to spend to fix what is already baked in.
How to use both appointments without wasting a week
Schedule the inspection before the final walkthrough if the builder will allow it. That gives you time to turn the report into a punch list instead of reacting on the spot. Bring the plans, options sheet, a flashlight, a phone charger, and your own short list of must-test items. Keep the builder's rep focused on function, not reassurance. If a cabinet door swings crooked, note it. If the garage floor slopes the wrong way, photograph it. If a shower smells damp, do not let anyone call it normal until you know why.
After the inspection, consolidate the findings into three buckets in plain English: cosmetic, functional, and moisture-related. Cosmetic items belong on the punch list. Functional items need proof they work. Moisture-related issues deserve the fastest response and the clearest documentation. Then re-walk the home with utilities on, water flowing, and the HVAC running. That is the difference between closing with confidence and closing with a folder full of excuses.
The 11-month rewalk is not optional
The easiest money to lose is the money you never spend until the builder's first year is nearly over. Caulk shrinks, drywall cracks at stress points, doors move with seasonal humidity, and slow leaks announce themselves after a few months of real use. That is why I like a second look around month 11, before the warranty clock runs out.
On that visit, revisit the windows, shower corners, attic access, exterior grading, and any room that had a smell, stain, or repeated defect. If a problem was patched twice during construction, assume it deserves another look. A builder who fixed a mis-sloped shower during the first punch list may still owe you a better waterproofing detail. The goal is not to be difficult. The goal is to make sure the house does not keep spending your money after you move in. If you remember one thing about new build final walkthrough vs inspection, remember this: the walkthrough helps you accept the house, but the inspection helps you price the house you actually got.



No letters yet — pray write the first.