
The ceiling stain appeared 26 months after closing. Small at first. Then larger after every heavy rain. The builder’s warranty team called it “normal condensation.” My audit two years earlier had flagged the flashing details as high risk. The buyer wished they had pushed harder for corrections.
Flashing — those metal or membrane transitions that direct water away from the building envelope — is where many new homes fail silently. The details look fine to a quick visual check but lack the overlaps, counter-flashings, and integration with other systems that ensure long-term performance. In Texas weather with its intense rains and wind, these shortcuts surface quickly.
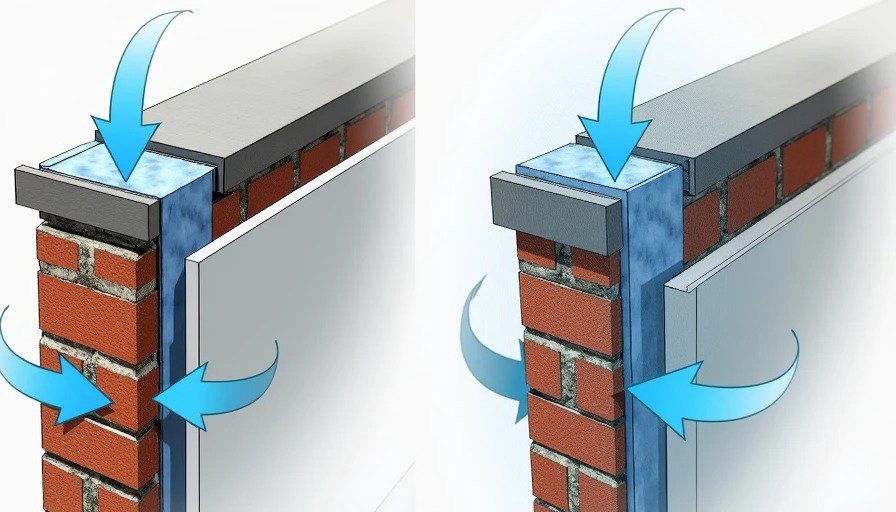
Why Flashing Failures Slip Through Inspections
Standard inspections are visual and time-constrained. They check for obvious gaps but rarely verify:
Proper lap directions (shingle fashion, minimum 4–6 inches)
Integration with housewrap and weather barriers
Counter-flashing into masonry or siding
Sealant compatibility and backer rod use
Kickout flashing at roof-wall intersections
Pan flashing at windows and doors
Builders often install “to code” using minimum overlaps and relying heavily on caulk instead of thoughtful metal work. Caulk fails over time. Properly detailed flashing lasts decades.
Common Flashing Red Flags in New Construction
Roof-to-Wall Transitions
Missing or poorly installed step flashing and counter-flashing. Kickout flashing (the crucial piece that diverts water at the bottom of a roof-wall intersection) is frequently omitted or installed flat against the wall instead of angled outward.
Window and Door Openings
Head flashing that doesn’t extend past the sides or lacks end dams. Sill pan flashing that is not properly sealed at corners. These allow water to enter the wall cavity behind the trim.
Chimney and Penetration Details
Cricket or saddle flashing missing or undersized. Pipe boots that are not properly sealed or secured.
Valley and Cricket Failures
Inadequate overlap or improper slope in roof valleys. These concentrate water flow and amplify any installation error.
I document these with photos, measurements, and projected repair timelines. A single poorly detailed roof-wall transition can lead to $8,000–$15,000 in remediation once water reaches sheathing and framing.
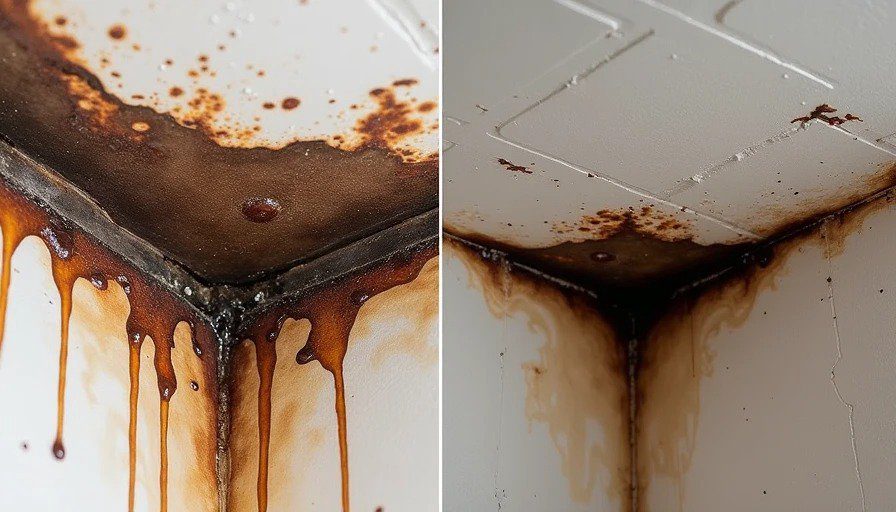
The Dollar Impact Over Time
Repair costs escalate quickly once water intrusion begins:
Spot repairs and new flashing: $2,500–$6,000 per area
Full wall reconstruction with sheathing replacement and mold remediation: $12,000–$35,000+
Interior finishes, flooring, and furnishings: Additional $5,000–$20,000
In humid Texas conditions, hidden mold growth adds health and air quality complications. The 5-year reserve line item for envelope issues jumps significantly when flashing details are marginal.
Builders’ warranties often exclude “consequential damage” or limit coverage to the first year or two. By the time leaks appear, responsibility becomes a battle.
What Proper Flashing Installation Requires
Best practices I verify:
Continuous weather barrier integration with self-adhered membranes at critical transitions.
Metal flashing with minimum 4-inch laps, sealed and fastened correctly.
Kickout flashing properly formed and integrated with step flashing.
Window pans with sloped sills and end dams.
Regular inspection during construction before siding/roofing covers the work.
These details add modest cost upfront — often a few thousand dollars for the entire house — but prevent major headaches.
Red Flags Checklist for Buyers
During walkthroughs, pay special attention to:
Roof-wall intersections — look for kickouts and proper step flashing.
Window heads and sills — probe gently for pan flashing presence.
Chimney bases and vent penetrations.
Grading and drainage directing water away from these details.
If the builder resists third-party envelope review, consider it a significant warning.
Patterns Across Markets and Price Points
This issue isn’t limited to production builders. Even higher-end custom homes cut corners on flashing when schedules tighten or subs take shortcuts. The patterns are consistent because the incentives favor speed and visible finishes over concealed durability.
My audits catch these because I look specifically for water management details with long-term performance in mind. Standard inspectors rarely have time for this depth.
Protecting Your Investment
Demand photos and documentation of flashing installation before it’s covered. Consider infrared scanning or water testing at key transitions if concerns exist. Budget appropriately in your repair reserve — $4,000–$12,000 for potential envelope remediation in the first five years is realistic for many new homes with average flashing quality.
The best outcome is prevention through awareness. When flashing is done right, you never notice it. When it’s wrong, you notice it every time it rains — and in your bank account.
Don’t let “passed inspection” give false confidence on these critical details. The water always finds the path of least resistance. Make sure your new home doesn’t provide that path through sloppy flashing work.
Your envelope is the first line of defense. Treat the flashing details with the scrutiny they deserve. The ledger will stay healthier for it.





No letters yet — pray write the first.